Colorado has a total of fifty-eight 14ers, or 58 mountains that have an elevation of over 14,000 feet above sea level – the most out of any state. Six of the 58 are in the Front Range, making climbing them an easy hiking accomplishment while you’re stationed (or just living) in the Denver or Colorado Springs areas.
I’m going to show you how to bag all six of the Front Range 14ers completely dependent on your skill level and amount of time you have. If you’re looking to backpack in and summit the next day, then this post is for you. Alternatively, if you’re looking for a day trip to the top of a 14er, then this post is also for you. I believe an assignment in Colorado isn’t complete without bagging at least one 14er, so read on and choose which one is best for you. Then, get after it!
If you’re feeling really up to it, bag four 14ers in a single 4-day weekend like I did once! Start with Longs, then camp near and summit Grays and Torreys the next day, then finish it off with Pikes or Bierstadt depending on where you’re stationed!
Jump to:
1. Longs Peak
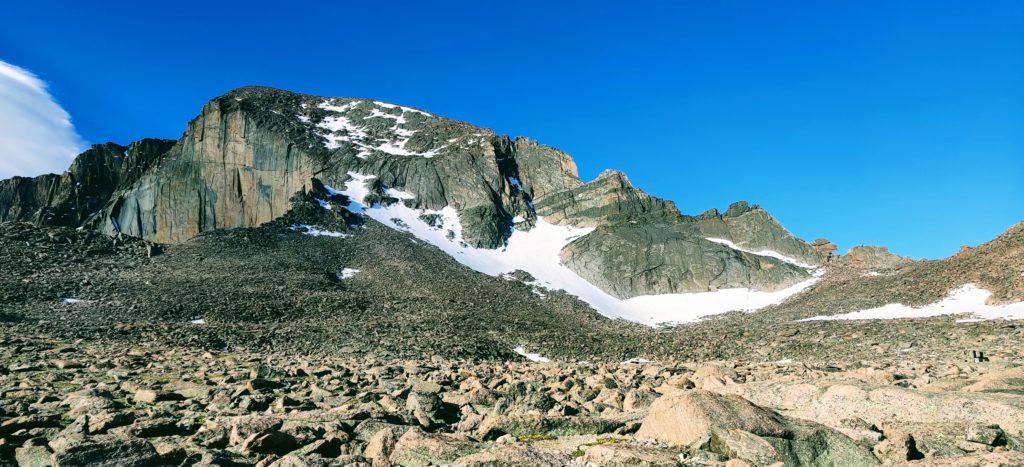
- Trail length: 14.8 miles (7.4mi out, 7.4mi back)
- Estimated time for completion: 9.5 hours
- Best way to experience the journey: camp in Rocky Mountain National Park (and explore the park afterwards with my post here)
- Recommended start time: 0400
- Recommended months: June through September
- Best part: The thrill of walking along the knife’s edge portion of the trail
I consider Longs Peak to be the second hardest peak in the Front Range but by far the most rewarding. It should be noted that Longs Peak is also considered to be the deadliest 14er in Colorado with a total of 58 recorded deaths and an average of two deaths per year. With that said, I’d recommend establishing yourself as a decent hiker well before you try to summit this one. This mountain will require good endurance, the ability to scramble, and knowledge to know when to delay summiting based on drastic weather changes.
When I attempted to climb Longs, I camped in Rocky Mountain National Park the night before because it put me within 20 minutes of the trailhead. Of course there’s also dispersed camping in the nearby National Forest for free, so the choice is completely up to you! Check out my post here for tips on where to camp in the National Park and for things to do after you’re through with your hike.
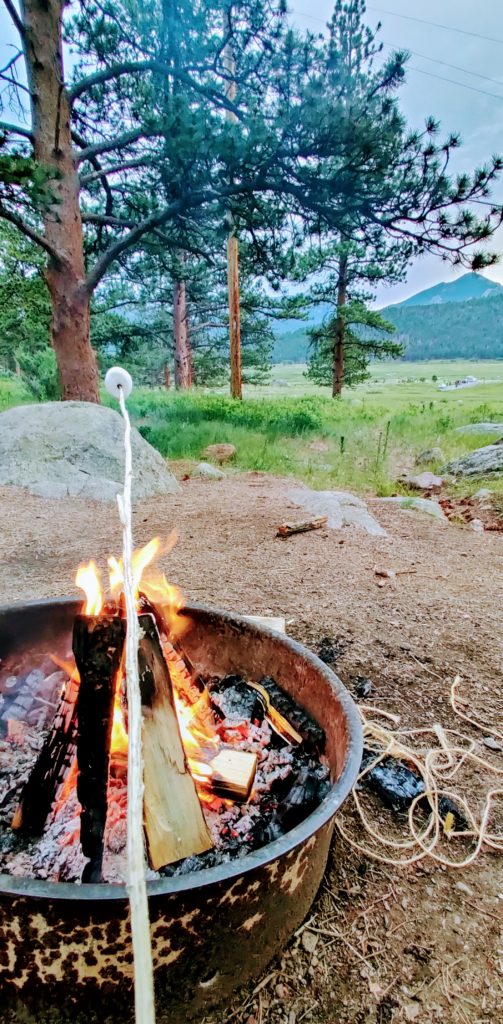
Start by parking at the Longs Peak Trailhead. Make sure you have a headlight, plenty of water (I used just one of the camelbacks I was issued), extra socks, some moleskin (for blisters), and more snacks than you think you’ll need. I’d recommend at least 10 Clif bars or something equivalent (maybe even a few sandwiches or something lunch-like).
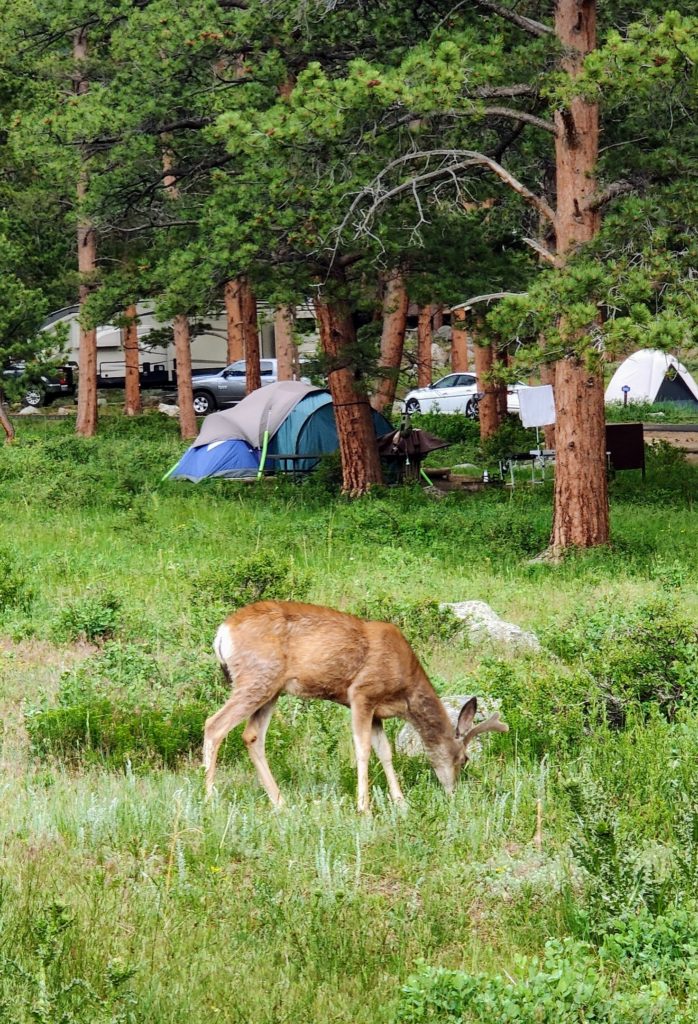
The trail is a straight shot to the boulder field and be sure to take in the amazing sunrise you’ll get from just above the trees! I got really lucky and didn’t see a single person on the trail when I was already maybe 4 miles in towards the summit. Keep an eye out for deer here, they love to surprise you!
As the trail ends, it’s kind of anyone’s guess as to which path along the boulder field is best. Just keep your eye on the keyhole and make sure you make your way in that direction!
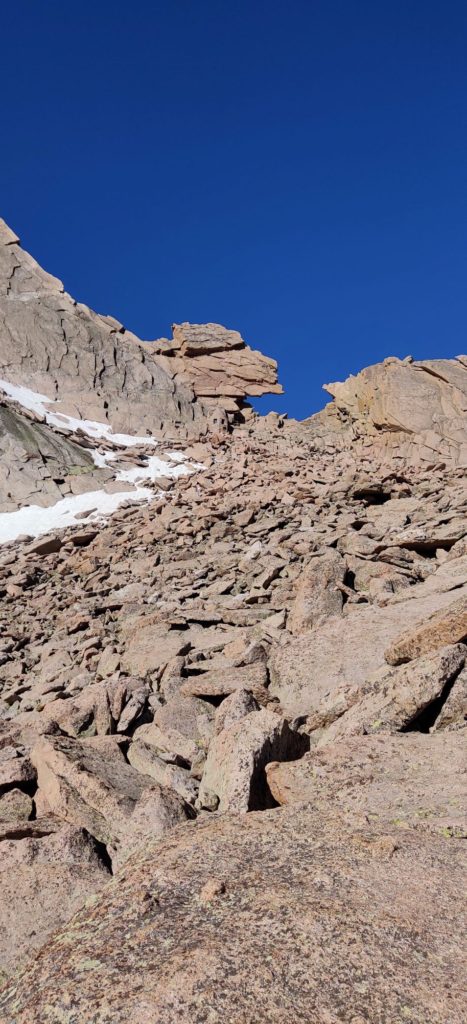
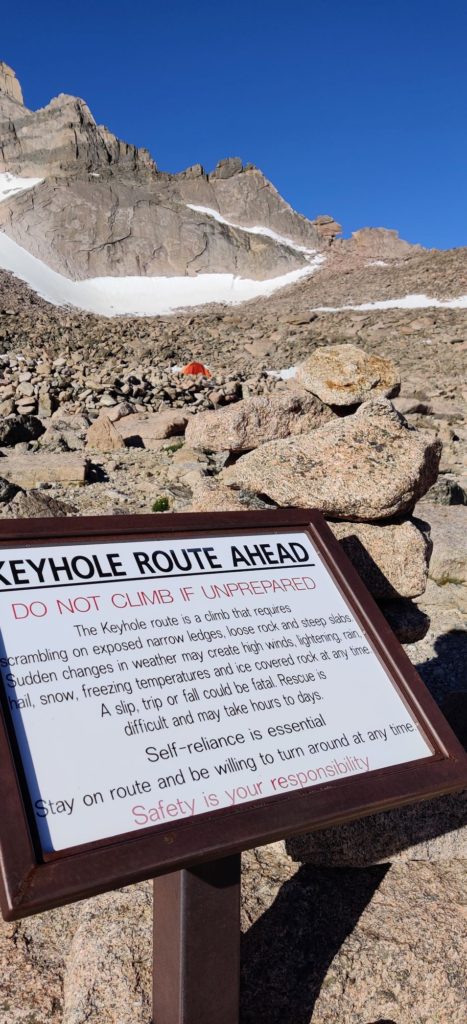
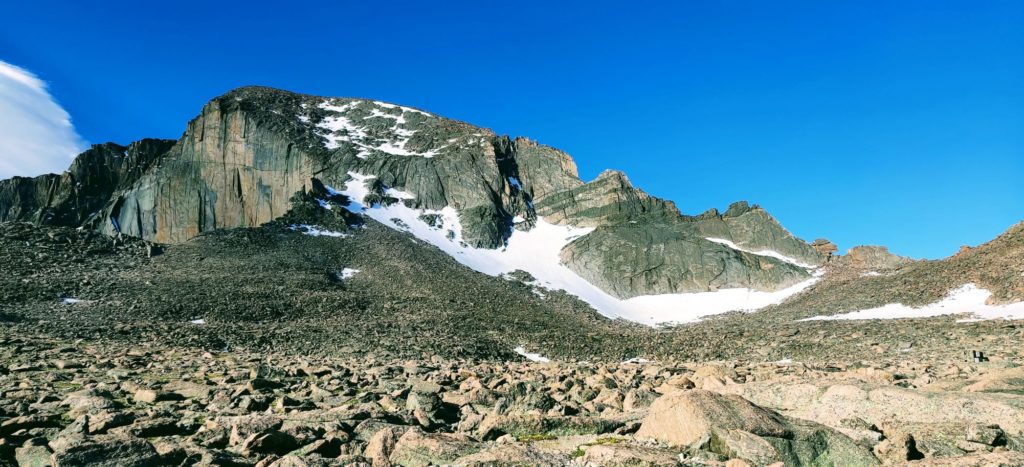
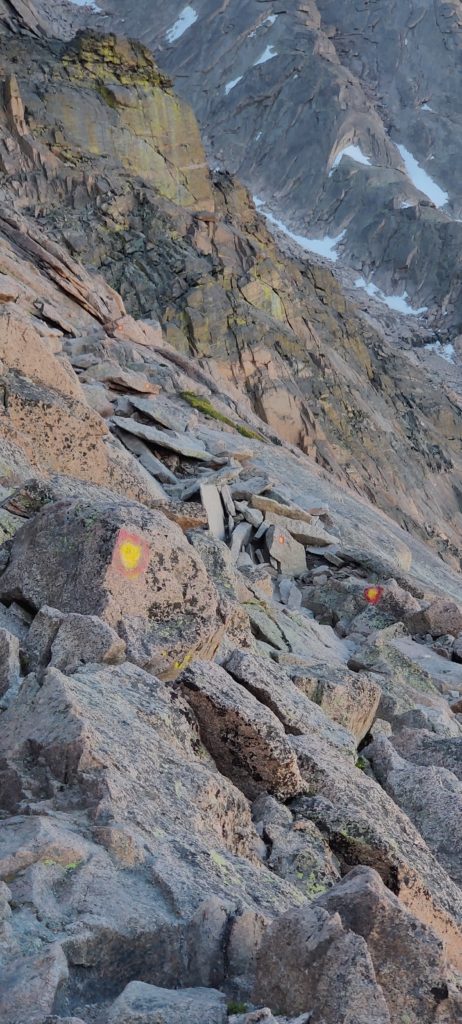
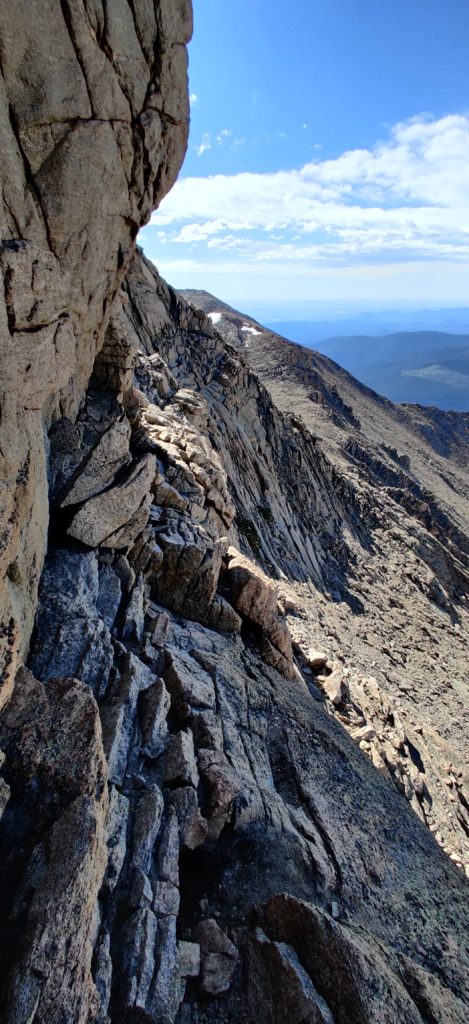
Once you’re through the keyhole, you’ll want to make sure you have a solid footing because the trail gets extremely narrow here and one slip could be fatal! Follow the bullseyes to get out of this portion and onto the final push!
If you’re not the most balanced/stable person, you might consider this to be a good point to turn around. The “trail” (if that’s what we’re calling it lol) is extremely, extremely narrow beyond this point until the summit. Here’s a few pictures to show you just how precise you need to be with your footing to ensure success.
And if pictures aren’t doing you justice, here’s a video of the drop off one side.
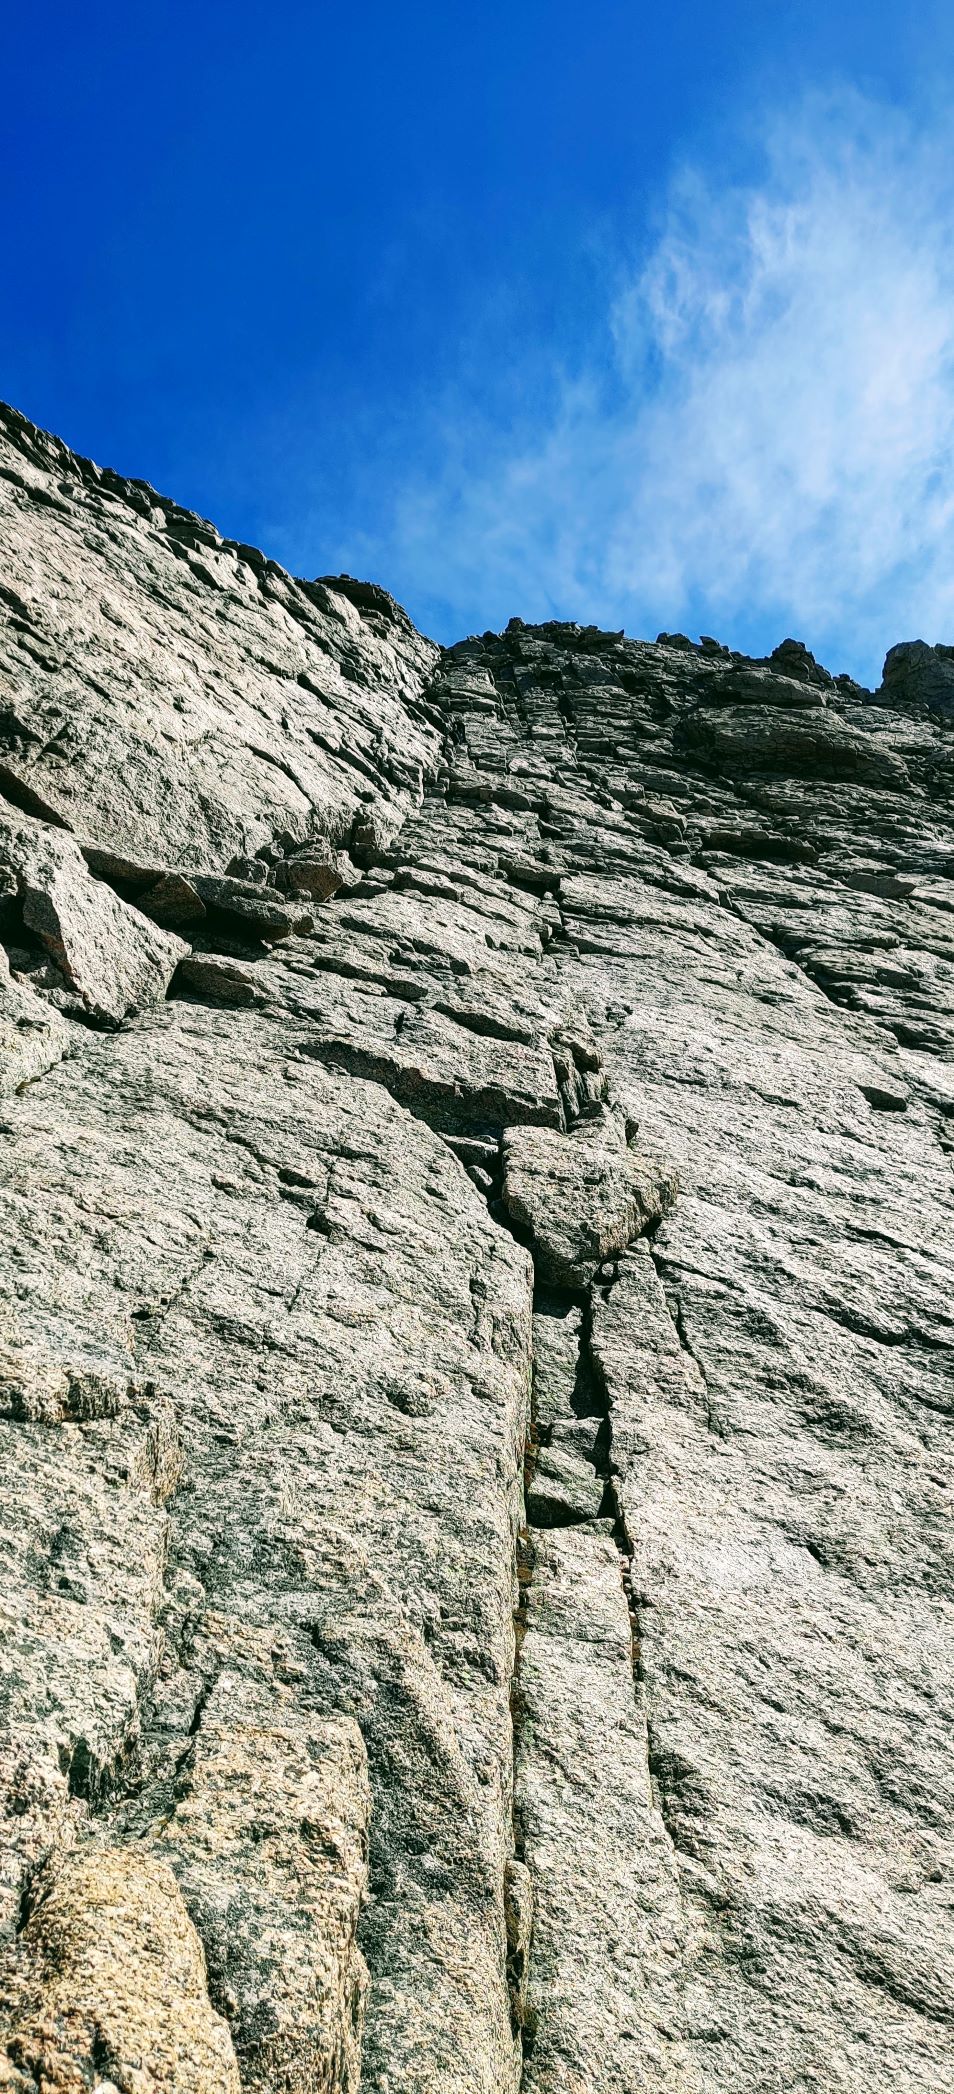
Once you’re past this section, you’ll have one final push to the top. Make sure you are rested up before attempting the final push as one slip here means falling a few hundred feet…
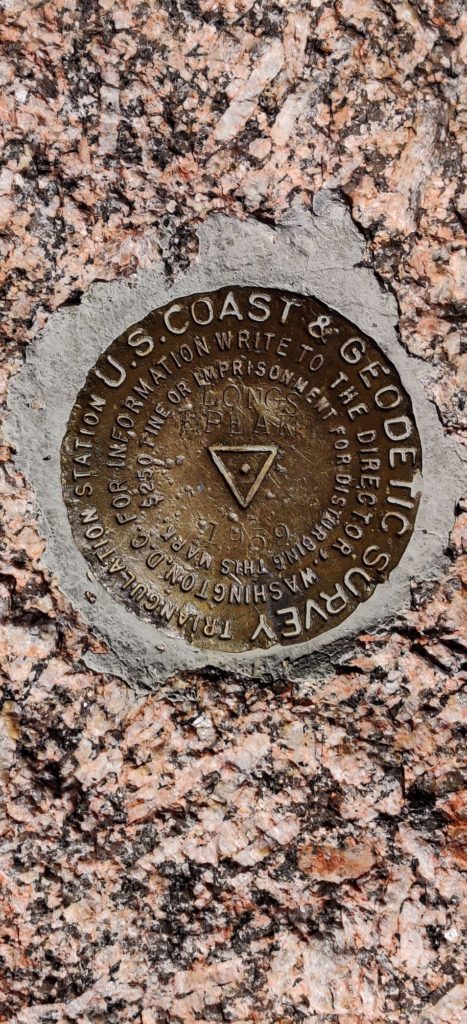
Finally! You’re at the top! Take out your cardboard sign and take as many selfies as you can as you’ve officially climbed the deadliest 14er in Colorado and the only one in a National Park!
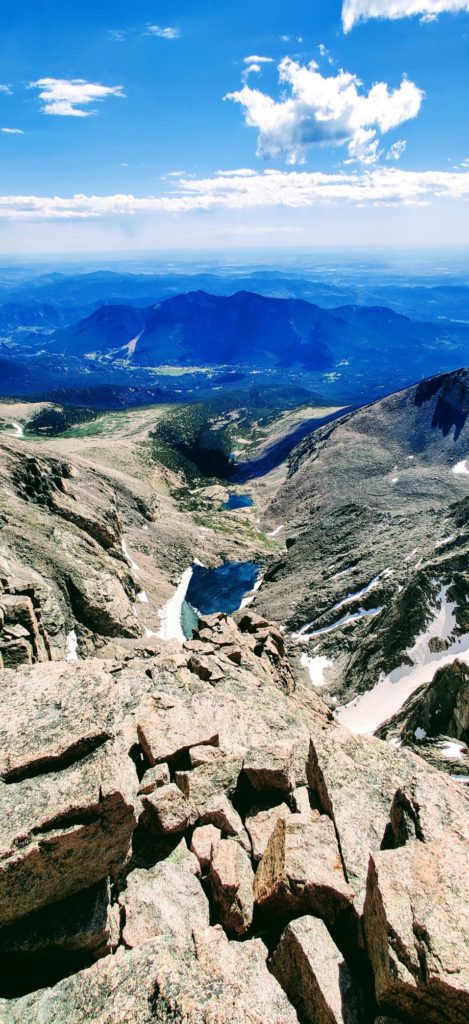
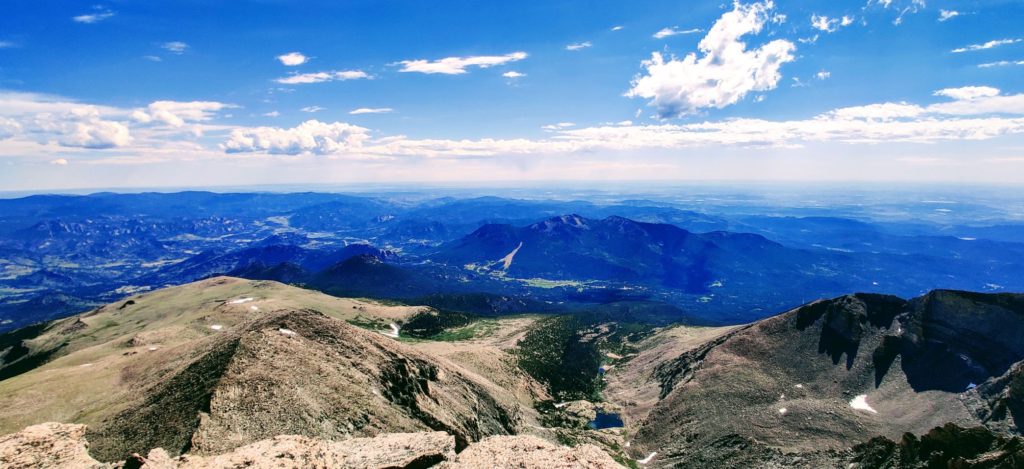
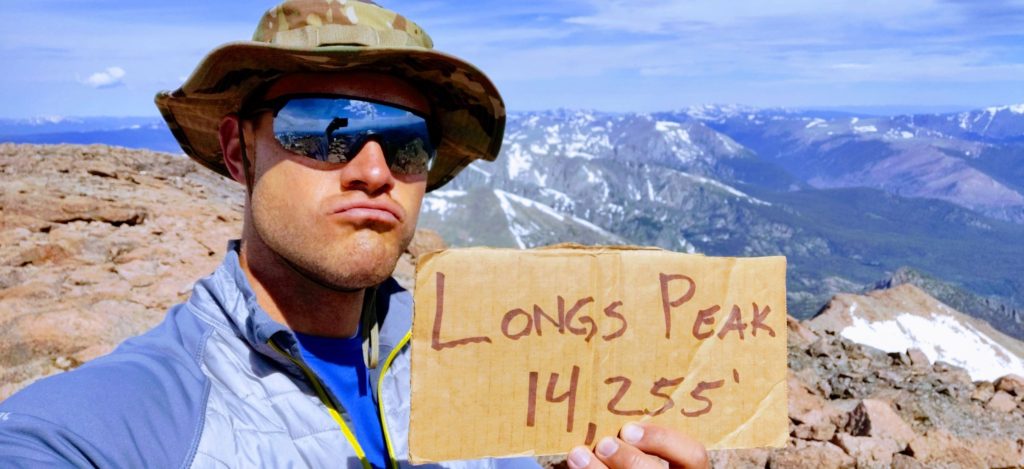
Take your time getting back down and don’t rush it. The last thing you want is to think you’re in the clear just to miss a footing and roll an ankle or something worse!
2. and 3. Grays and Torreys

- Trail length: 8.5 miles (4.25mi out, 4.25mi back)
- Estimated time for completion: 6-7 hours
- Best way to experience the journey: go on a weekday and get started early so you don’t have to share the trail with others
- Recommended start time: 0500
- Recommended months: June through September
- Best part: Mountain goats everywhere!
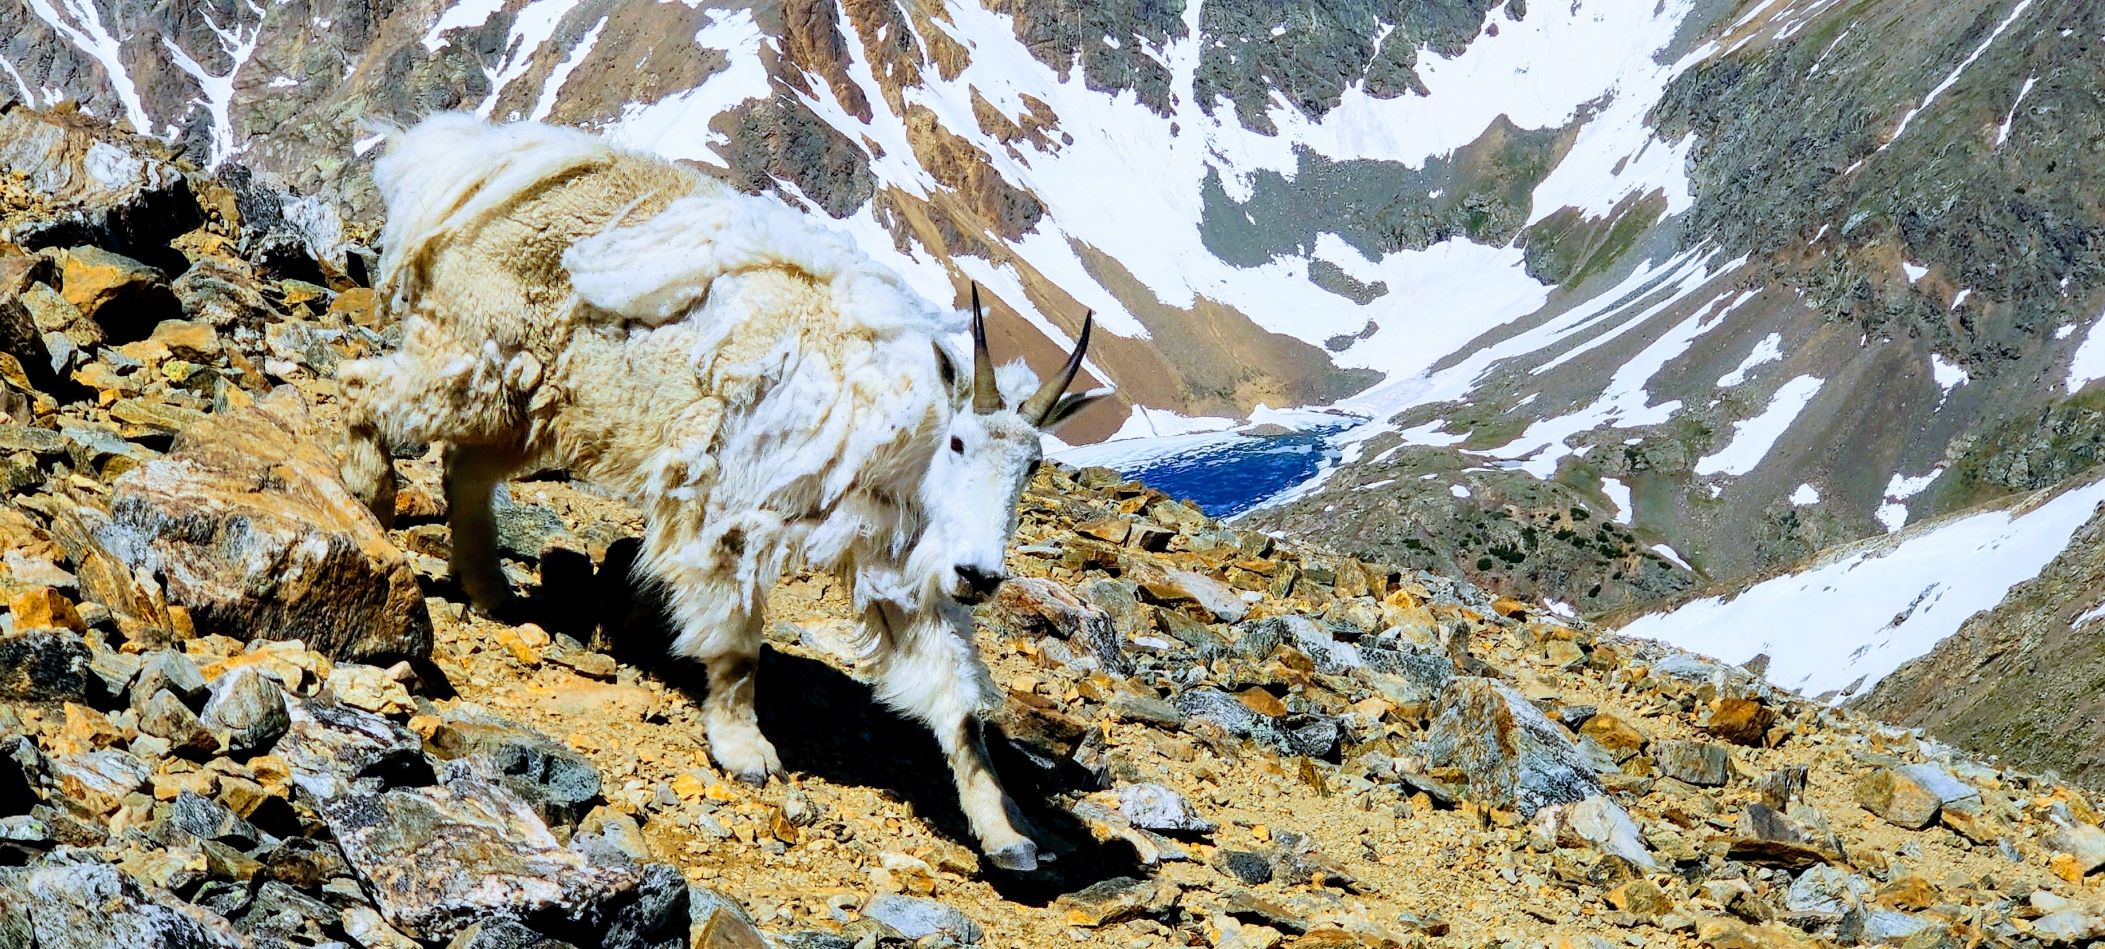
Alright if Longs Peak seems a bit too daunting, I totally get it! It took me about 3 or 4 attempts of driving to the trailhead before I finally felt the courage to just go for it, even though I had a few 14ers under my belt. So, I recommend Grays and Torreys for a great intro to 14ers because you get to bag TWO 14ers in the same day! Plus, you’ll get to get up close and personal with some great trail buddies: mountain goats!
Grays and Torreys are connected by a saddleback that’s easily traversed with nothing more than a sturdy pair of hiking shoes and a great attitude. Park at the Grays and Torreys trailhead (or the upper trailhead if you’re there super early) and get moving.
This trail is almost as easy as it gets all the way to the top. It’s clearly marked, well traversed, and doesn’t have any large obstacles until the last little scramble to the top of Grays. Be on the lookout for mountain goats as there are everywhere along this trail, all the way from the bottom to the top!
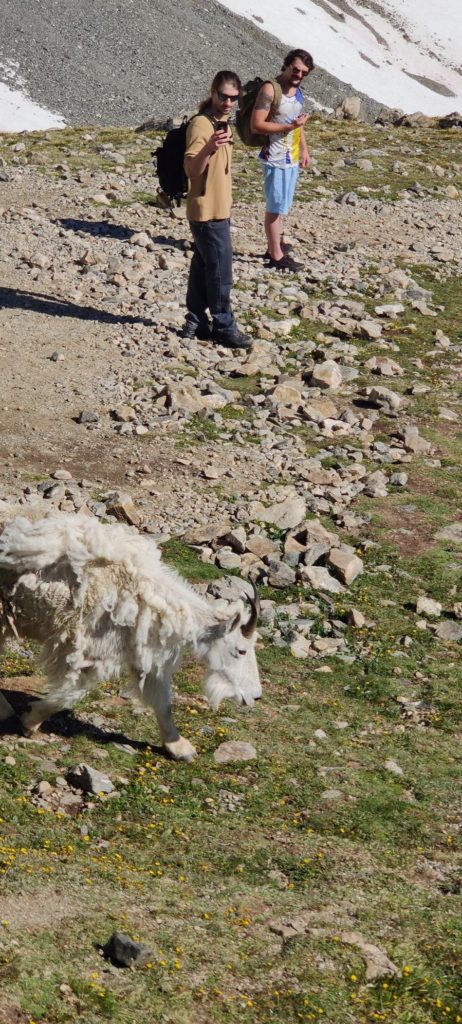
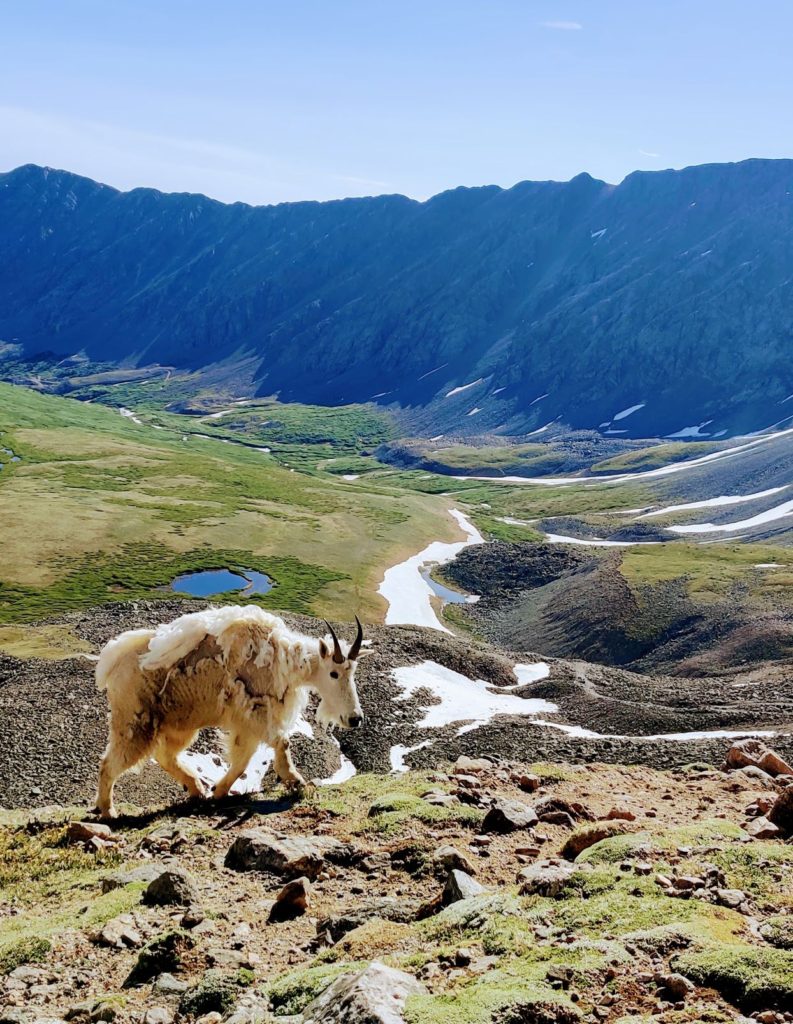
As you start to approach the saddleback, climb up towards the middle and then decide if you want to go right towards Torreys first, or left towards Greys first. Either choice is correct, so don’t take too much time deciding. If you’re real lucky, you’ll still have your trail buddy tagging along side you like I did! I named him Billy cause he’-….well, you get it.
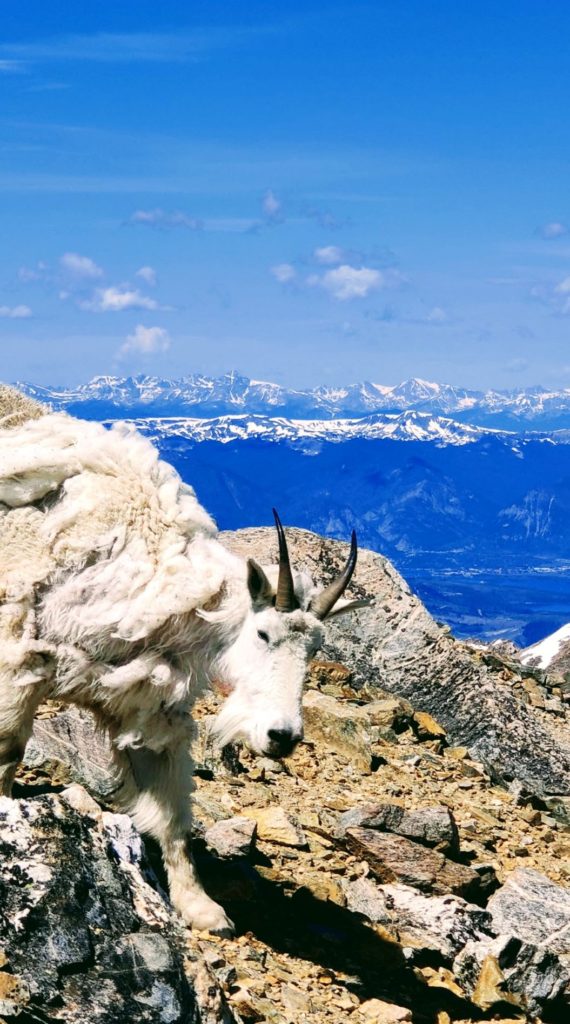
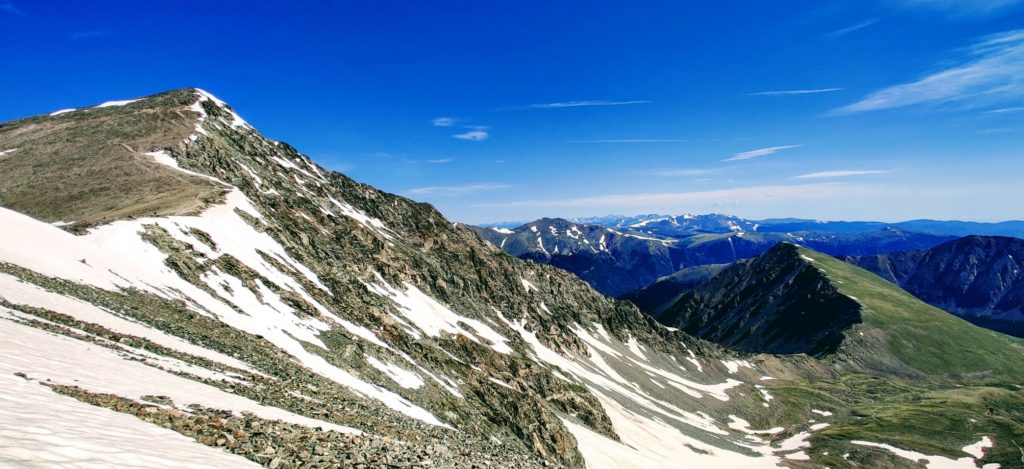
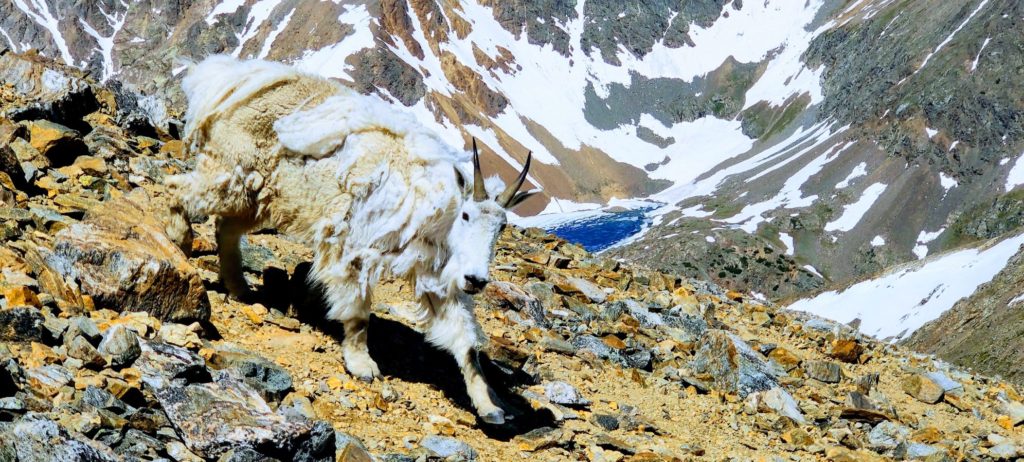
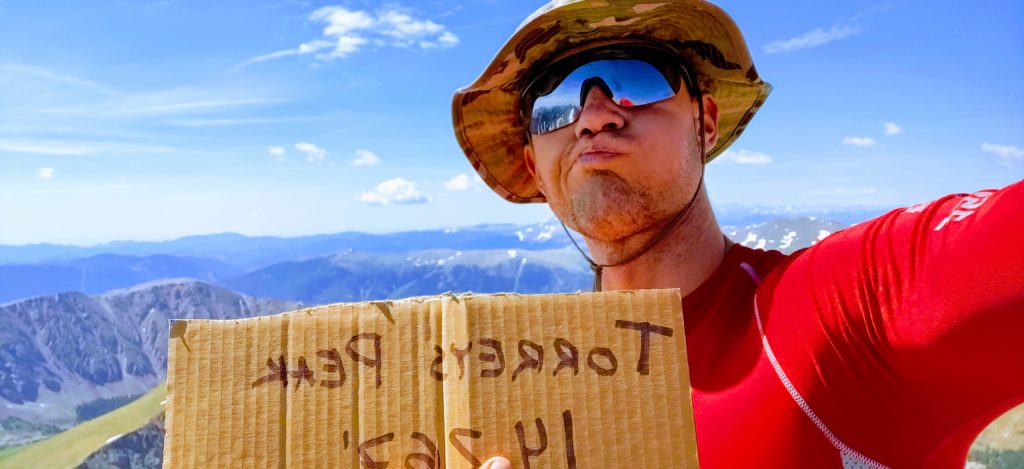
Once you’ve made it to the top of your first 14er of the day, take out that cardboard box flap and snap those selfies for the ‘gram; you did it! Last thing to do is head back down the saddleback and onto the other peak to bag your second 14er in one day, congratulations!
4. Mount Bierstadt
- Trail length: 7 miles (3.5mi out, 3.5mi back)
- Estimated time for completion: 6-7 hours
- Best way to experience the journey: bring a friend and make this an easy memory you’ll never forget
- Recommended start time: 0500
- Recommended months: June through September
- Best part: It’s the easiest 14er in the Front Range and its dog friendly
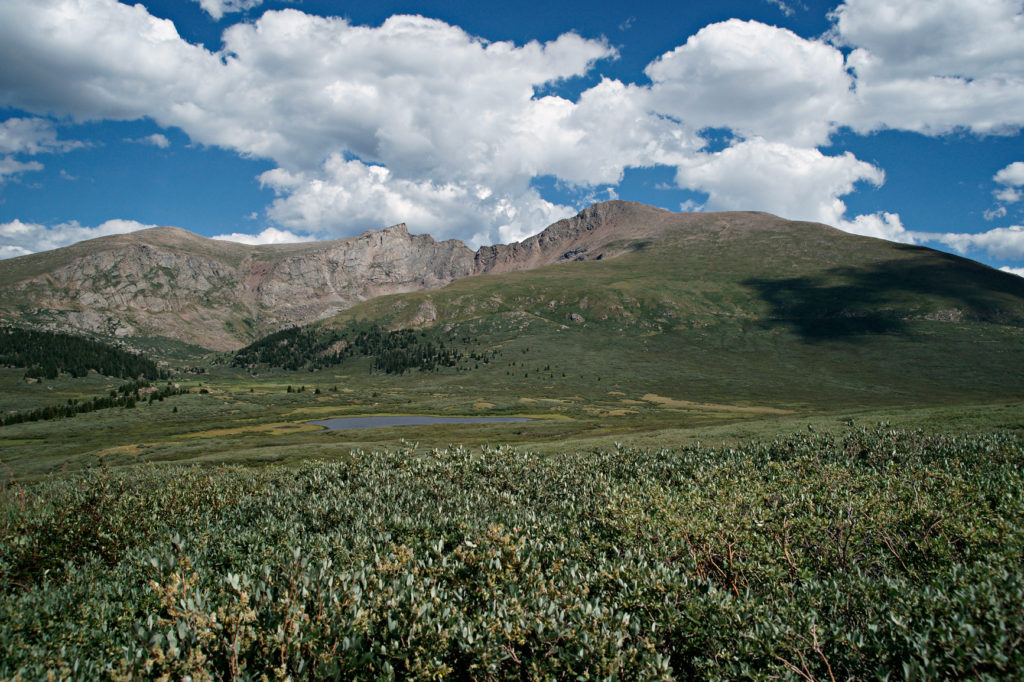
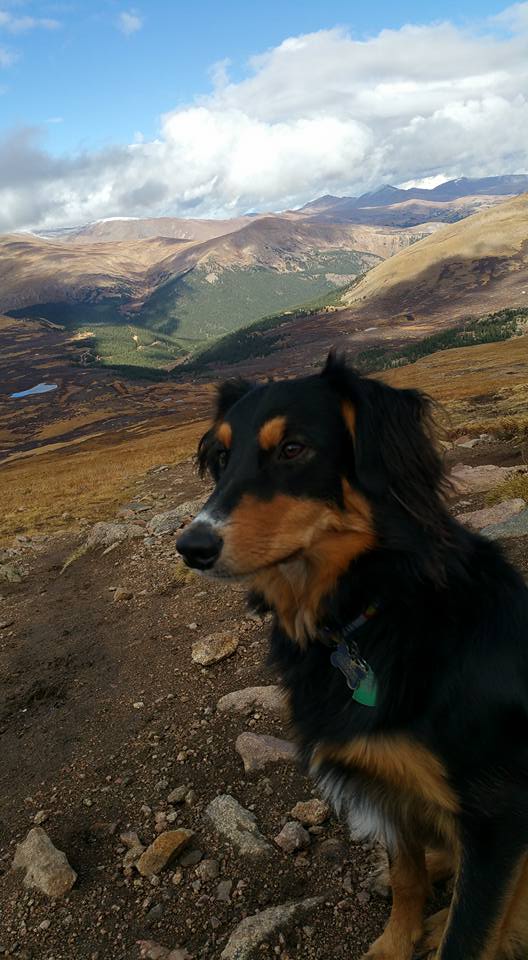
Ah, Mount Bierstadt. My first ever 14er, and everyone remembers their first ;). When I summited this calm peak, I was accompanied by my fearless dog Omaha the entire time and this was his first 14er also. We had a great time advancing along the trail, stopping to take pictures of the incredible landscapes and enjoy our time together.
This mountain is by far the easiest 14er in the Front Range, so don’t fret over knocking this one out on a leisurely Saturday or Sunday. You’ll park near the Guanella Pass Summit just outside of Idaho Springs and from there it’s a clearly marked trail all the way to the summit.

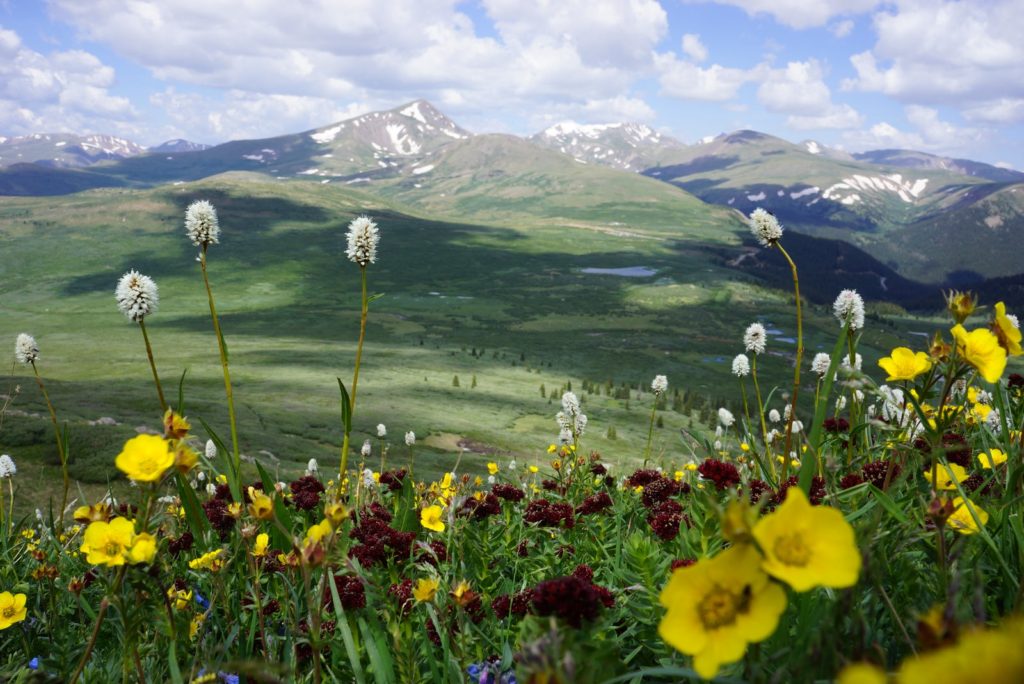
Make sure you stop and rest if this is your first 14er as the distance and altitude can easily catch up to you if you’re not acclimated. And as always, once you’ve reached the summit, take out that cardboard box with the elevation written on it and snap a selfie!
5. Pikes Peak
- Trail length: 14.5 miles (7.25mi out, 7.25mi back)
- Estimated time for completion: 9-10 hours
- Best way to experience the journey: camp at either Crags Campground or Mueller State Park and get started as early as possible
- Recommended start time: 0400
- Recommended months: June through September
- Best part: Being able to point at Pikes Peak from anywhere you can see it and say, “Yep, I climbed that one”
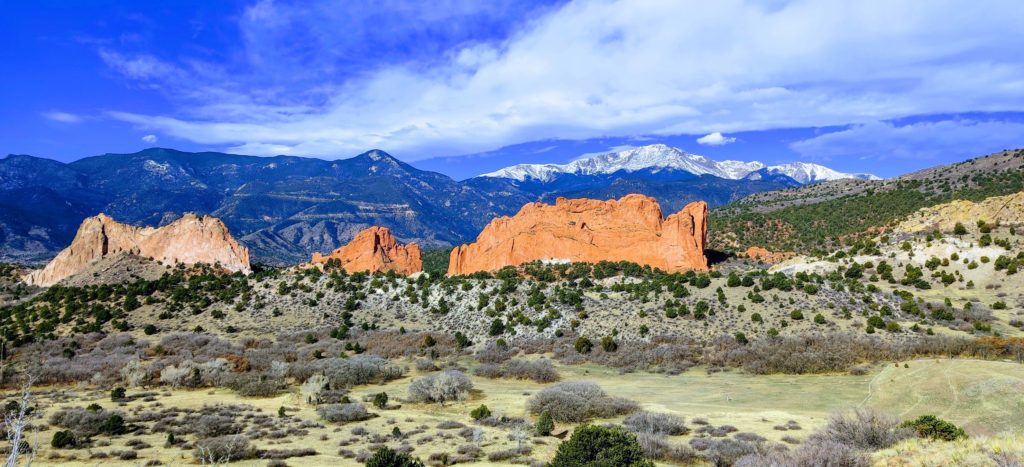
I consider Pikes Peak to be the second most grueling 14er in the front range simply because of the distance. The trail is actually quite flat for a large portion of the hike, but it’s the more-than-half-marathon distance that can scare a few folks off.
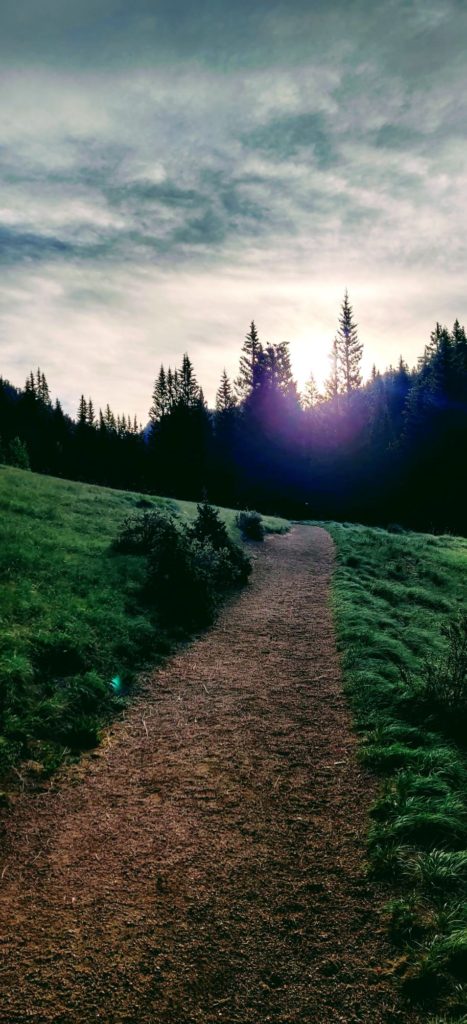
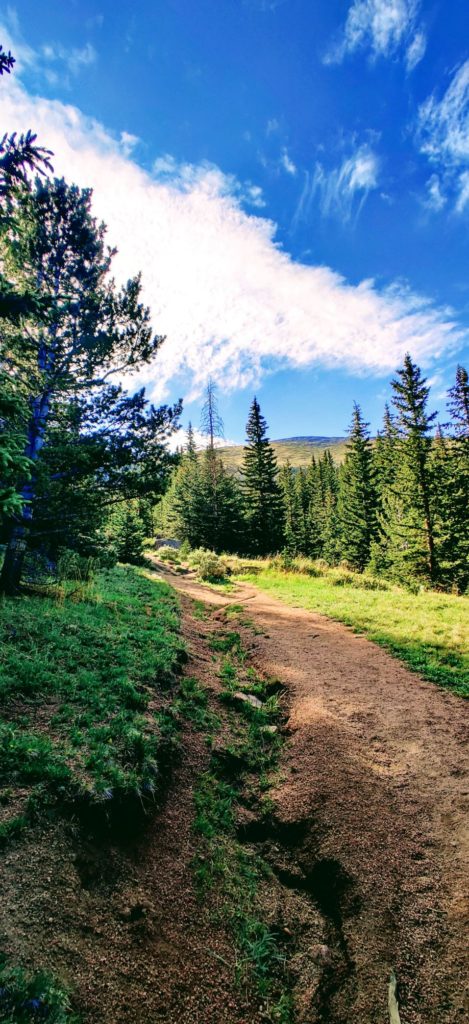
There’s two ways up Pikes Peak, this post will cover the easier one that goes up the “back side”. Start at Crags Trailhead and cross the river, then head east. A few miles into the trip, keep your eyes peeled for a sign that says, “Devil’s Playground” and head in that direction. Don’t make the mistake I did and pass this sign thinking you’re all good lol it adds about another 1.5 miles onto your round trip. And don’t forget to stop and smell the wildflowers! The journey is everything on a hike that’s 13.1 miles lol.
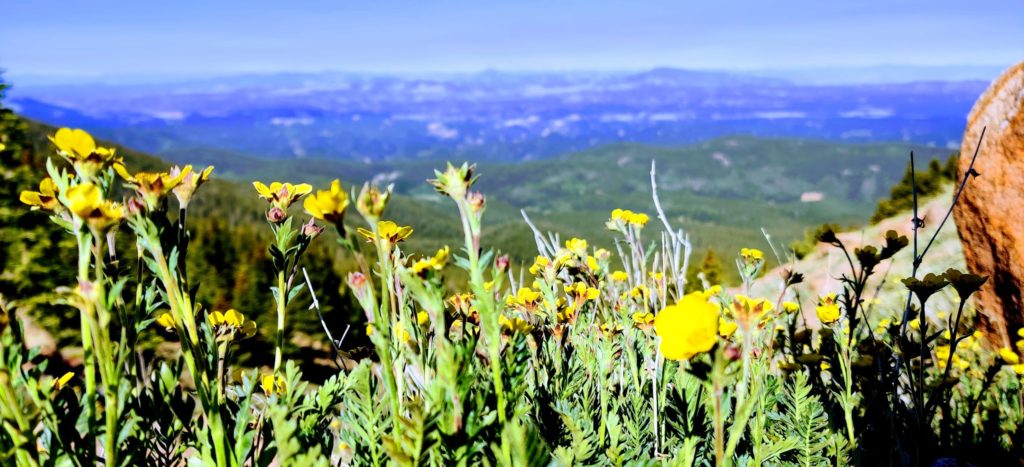
There are quite a few moments where the trail flattens out and you can really gain some ground, so take advantage of those times when they arise. As you make your way up past the tree line, you’ll start nearing the road that the whimpy humans in cars can take up to the summit lol. Keep your eyes peeled and if you’re lucky, you’ll spot some big horn sheep, marmots, and deer all in the same blink!
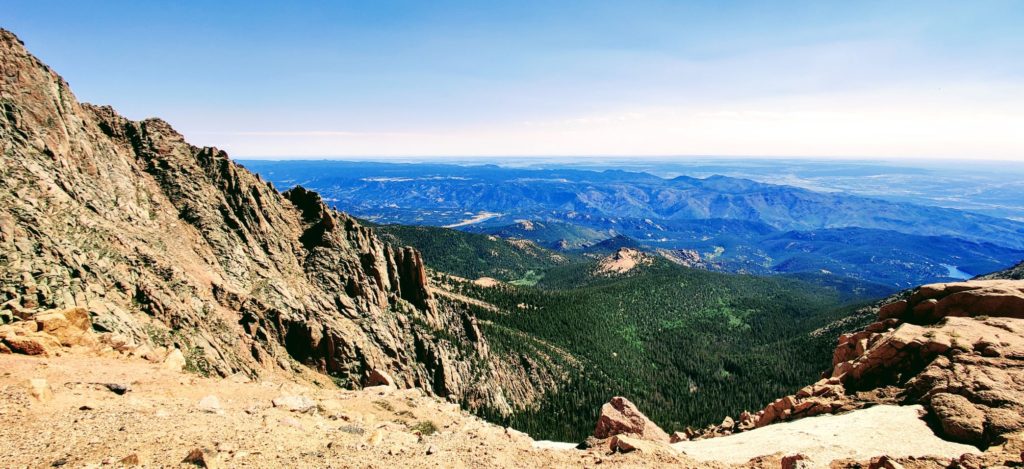
Don’t let the false summits fool you as you start getting near that 11-12 mile mark, this trail really is 13.1 miles long and not a foot shorter! The easiest way to take the shortest route to the top while scrambling is to always look for the cairns (i.e. man-made piles/stacks of stones) and go to them. Cairns are built by people who’ve come before for the sole purpose of helping others get to the top in the most efficient way.
Once you’ve made it past the final rock scramble, you’ll officially be able to say you climbed America’s Mountain! Whip out that cardboard sign with 14,115′ written on it and snap a selfie; congrats!
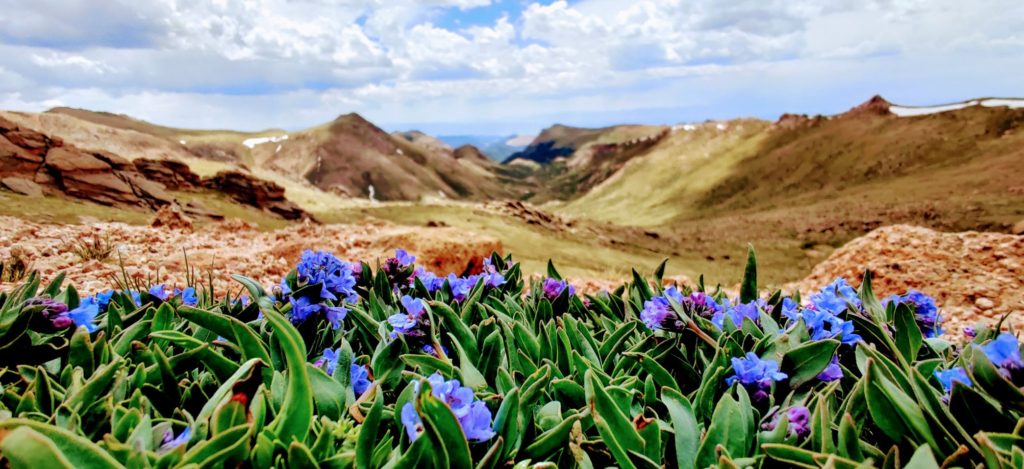
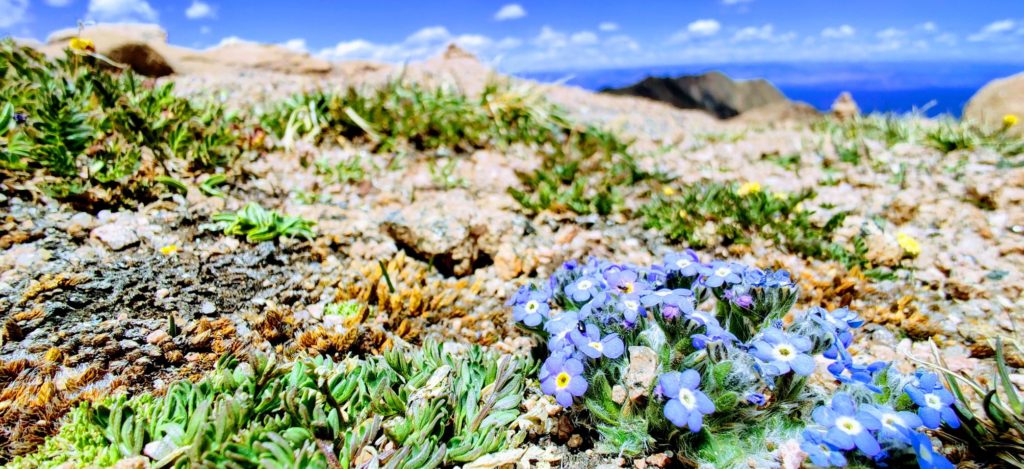
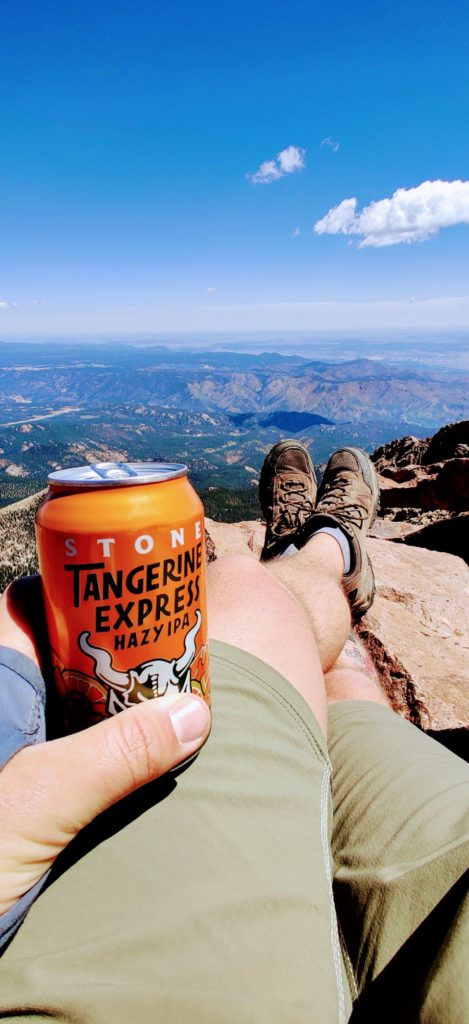
The trail back down is extremely relaxing and easy, so enjoy it! Stop and take pictures of any wildflowers or species of wildlife you’re lucky enough to experience and remember to pack out all of your trash so future hikers can equally enjoy their experience.
6. Mt Evans
- Trail length: 17 miles (8.5mi out, 8.5mi back)
- Estimated time for completion: ~12+ hours
- Best way to experience the journey: backpack in and camp in the Mount Evans Wilderness to break this hike into two legs
- Recommended start time: 3:00 or 4:00pm the night before
- Recommended months: June through September
- Best part: Passing four alpine lakes on your way to the summit
I saved this one for last because this hike is by far the most grueling out of all the 14ers in the Front Range. The distance, the vertical feet gained, and the wind all contributed to a hike that I’m glad I did once, but likely won’t do again lol.
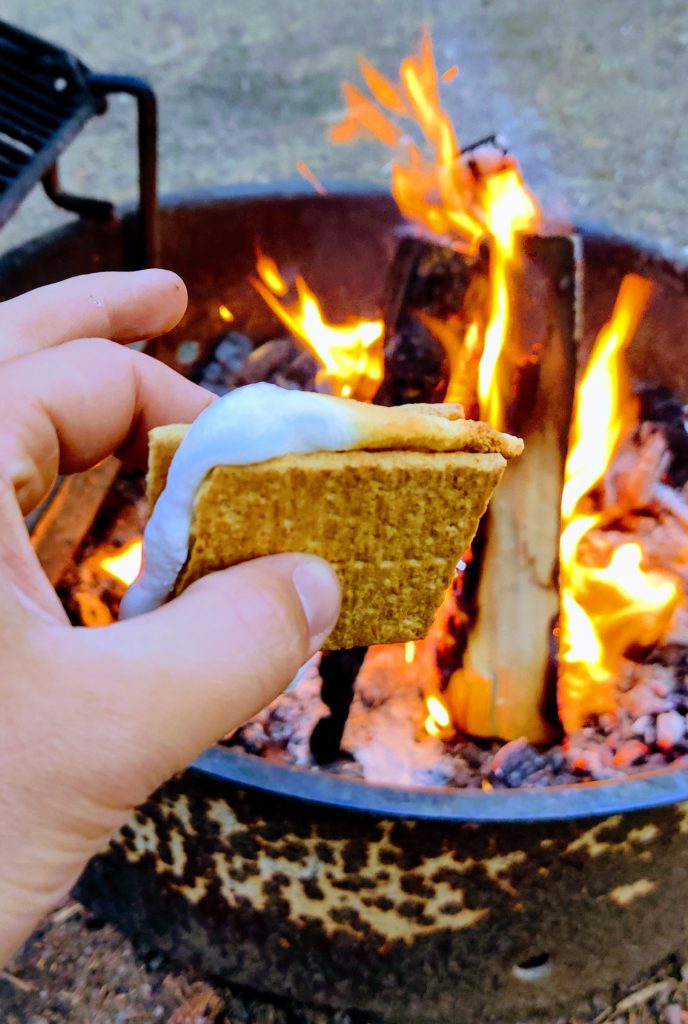
For this hike, I parked at the Echo Lake Lodge and backpacked into the Mount Evans Wilderness towards the Chicago Lakes. As the sun set, I camped near 39°37’N 105°37’W which shaved off about 3.5 miles from the total distance. This decision allowed me to have a beautiful little campfire, some tasty s’mores, a few sips of whiskey, and an early night’s rest. I was bound to summit Evans while the sun was coming up, so I got back up at 0230 and made the push towards the summit. Little did I know I was in for the windiest day I’ve ever had on any mountain!
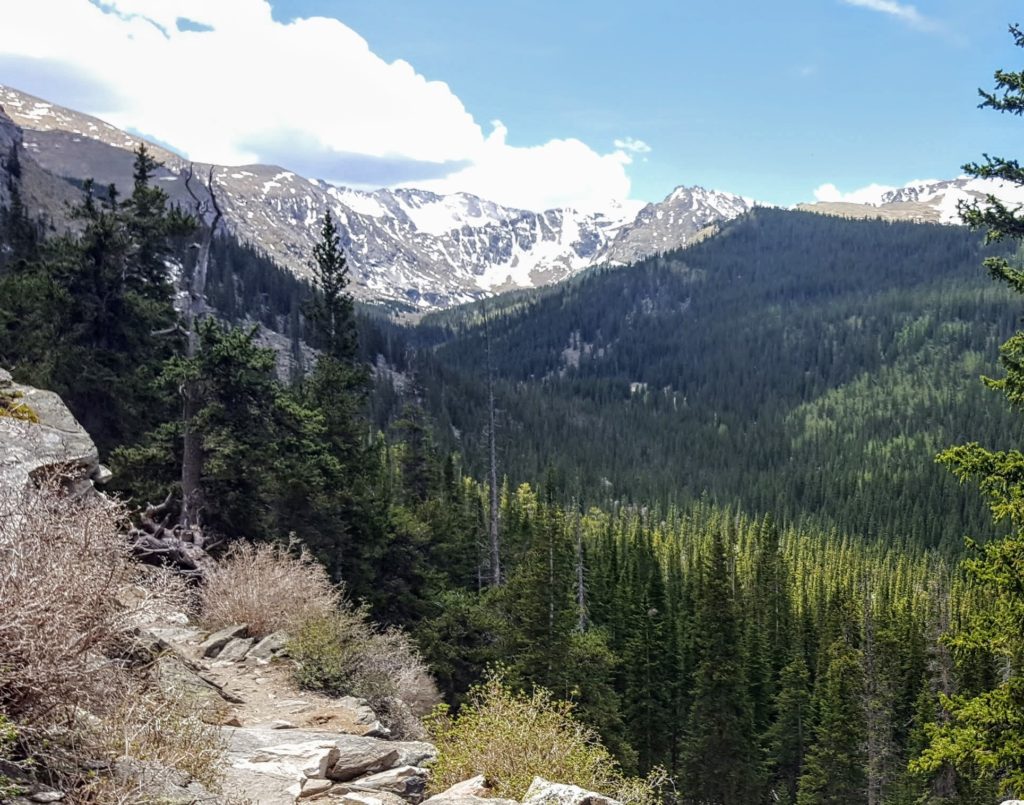
The trail is extremely easy to navigate from the Echo Lake Lodge (or beginning of the Chicago Lakes Trailhead, same diff) all the way to the upper Chicago Lake, about 6.5 miles into the trek. You’ll start by descending a few hundred feet down a switchback to the valley floor and then press south until you reach the Chicago Lakes. From the upper Chicago lake, it’s a “fun” vertical push to Summit Lake where you’ll gain over 1,000ft in only one mile! After that, look west for the trail that goes along the ridge line and press on for only another 2.5 miles to the summit as you wrap around summit lake.
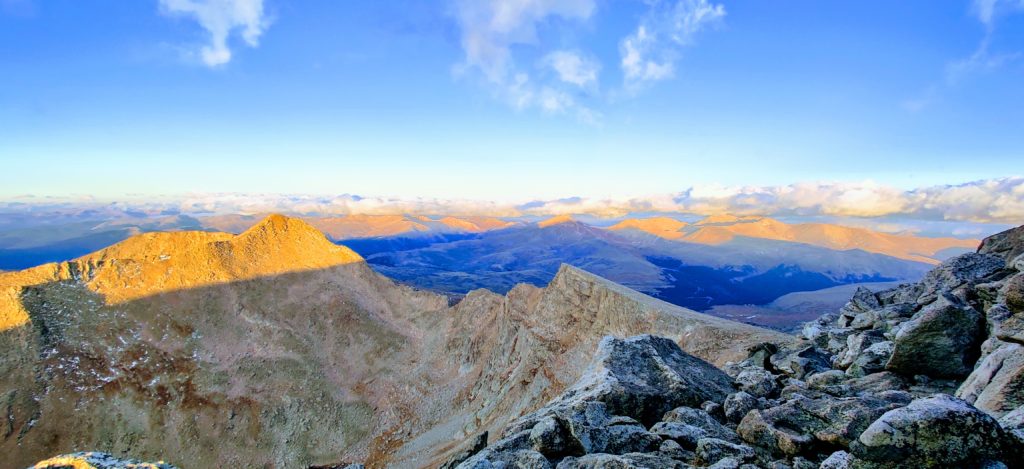
Because I started at 0230 in the morning, I don’t have many pictures of the trail (no sun, no photos haha). Pro tip: Don’t attempt this 14er from this route for a sunrise summit if you’ve never done it before as you can easily get lost and disoriented. Do this one with some daylight and save yourself some stress and confusion.
So there you have it: a globetrotter’s guide to bagging the Front Range 14ers. Remember that there’s 58 14ers in the state, so if you attempt these 6 and are dying for more, you’ll have plenty to choose from! All of these can easily be accomplished with a pair of hiking shoes, a great attitude, some snacks snacks, and a clear weather forecast. Whichever mountain(s) you choose to conquer, remember to respect the mountains and your limits, and know when it’s a good time to turn back or to press on. Happy bagging!


Wow, this is an amazing blog site! The pictures are absolutely breathtaking! Thank you so much for sharing!